Ensuring your baby’s feeding gear is spotless is crucial for their health. Using the right tools—like a baby bottle brush or an electric bottle cleaner makes all the difference. In this detailed 5‑step guide, you’ll learn exactly how to clean a baby bottle correctly, reducing germs and ensuring safe feeding every time.
Introduction
Maintaining hygiene for baby feeding gear is non-negotiable. The baby bottle brush is your basic tool for removing residue and buildup, while modern parents may choose an electric bottle cleaner for effortless deep cleaning. Knowing when and how to use each, and following a proven cleaning process, ensures your baby’s bottles remain germ‑free and safe.
In this guide, you’ll get actionable tips on repurposing both tools, helping you clean a baby bottle correctly in five simple steps, and keeping your little one safe.
Step 1: Pre-Rinse Immediately After Feeding
Why Pre‑Rinsing Matters
When you’re done feeding, rinse the formula or milk residue out right away. Old milk can sour, stick to surfaces, and become a breeding ground for bacteria if left to dry.
How to Do It
- Swirl warm water inside the bottle.
- Rinse the nipple and cap thoroughly.
- Shake out excess water and allow parts to drain.
Using a baby bottle brush right after rinsing helps scrub off milk film before it hardens.
Step 2: Disassemble and Inspect All Parts
What To Take Apart
Fully disassemble the bottle, including nipple, ring, cap, vent valves, and silicone inserts.
Why That’s Important
Every component can trap milk residue—especially vent systems and valve seals. Clean each part separately to ensure no bacteria hideaways remain.
Step 3: Clean With a Baby Bottle Brush or Electric Bottle Cleaner
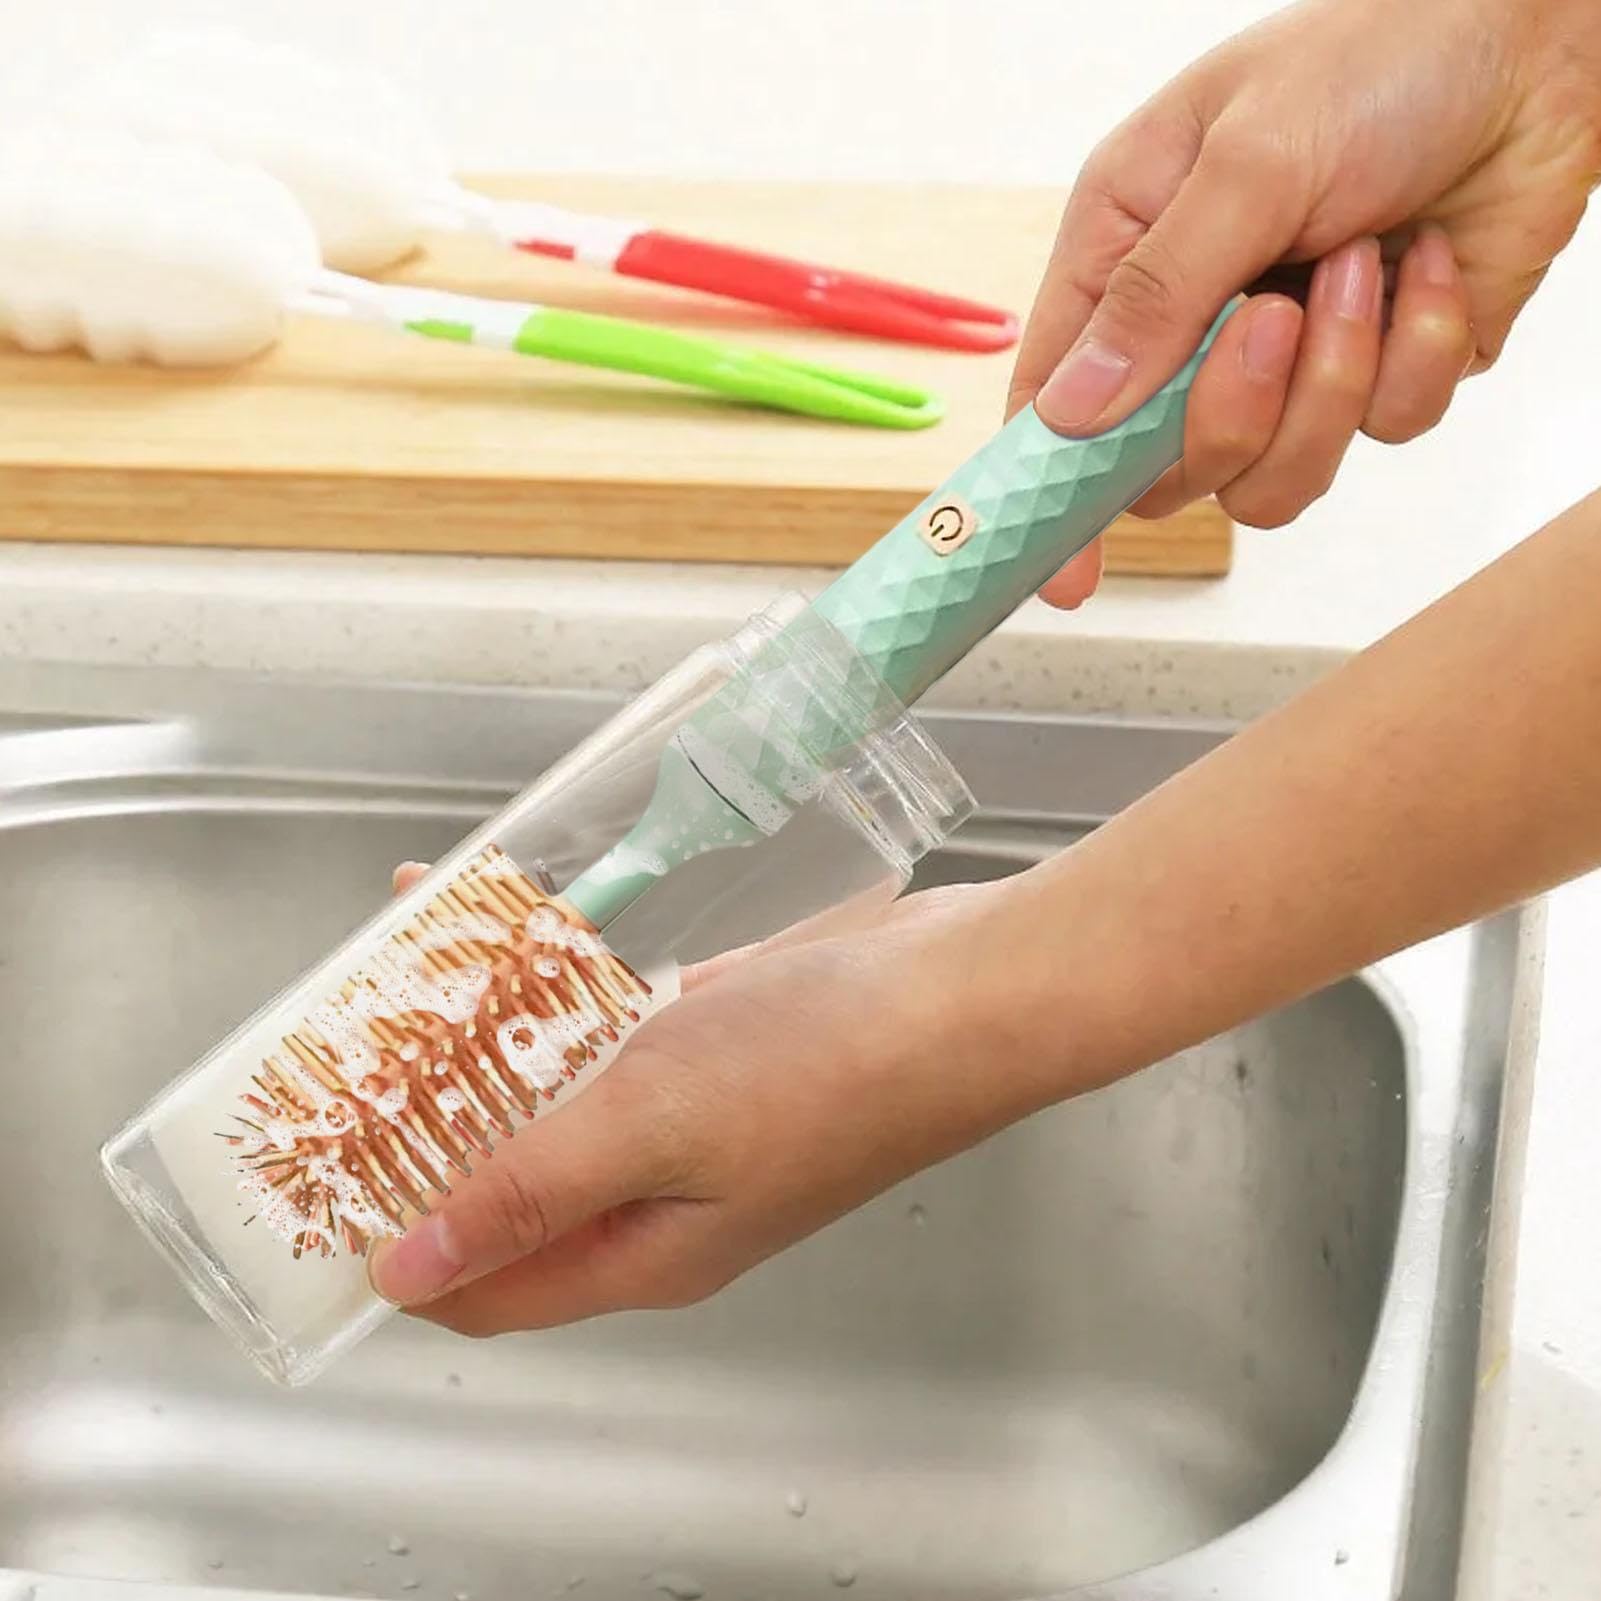
Option A: Traditional Baby Bottle Brush
A baby bottle brush is inexpensive, manual, and effective.
- Fill the bottle with warm, soapy water (use mild, baby-safe detergent).
- Scrub the inside with the brush, twisting to reach the bottom.
- Use nipple brushes for small openings.
Option B: Electric Bottle Cleaner
An electric bottle cleaner adds automation:
- Place the bottle inside the device.
- Fill with water and detergent if needed.
- Turn it on and let it scrub the interior automatically.
Electric bottle cleaners work best for thorough, hands-off cleaning but may need accessory brushes for nipples or small valves.
Most users find the baby bottle brush ideal for everyday cleaning, while the electric bottle cleaner is helpful for weekly deep cleansing or multitasking parents.
Step 4: Rinse Thoroughly and Sanitize
Rinse Details
- Rinse each bottle part under running water until all soap is removed.
- Inspect surfaces carefully—soap residue can irritate baby’s sensitive digestive system.
Sanitizing Methods
Depending on your preference, you can sanitize using one of the following:
- Boiling – Submerge bottle pieces in boiling water for 5 minutes.
- Steam sterilizer – Use an electric sterilizer or microwave steam bag.
- Chemical sterilizers – Use baby-safe sanitizing tablets per instructions.
Using an electric bottle cleaner before boiling or steam sterilization ensures both cleanliness and germ elimination.
Step 5: Dry Properly and Store Safely
Air-Dry Completely
Place bottles and parts on a clean, dry rack. Avoid reassembling immediately to allow airflow and prevent mold growth.
Safe Storage Tips
- Keep all components in a clean storage bag or container.
- Use a sealed cupboard or dedicated drawer to avoid contact with dust or debris.
- Wash your drying rack and storage area regularly.
Air-drying after cleaning with a baby bottle brush or electric bottle cleaner ensures complete drying and safe storage.
Why These Steps Matter
- Minimize germs: formula and breast milk can harbor bacteria—prompt and complete cleaning reduces risks.
- Avoid residue build-up: buildup can create film, clog valves, and degrade nipple quality over time.
- Promote infant health: clean bottles reduce digestive issues, colic, or infection.
- Save time: pairing a baby bottle brush for daily cleaning with occasional use of an electric bottle cleaner optimizes time and effort.
Bonus Tips for Cleaner Bottles
- Replace nipples frequently—especially if thinning, discolored, or cracked.
- Always inspect for wear before each use—check for cloudiness, mold lines, or scratches.
- Avoid scented detergents—chemicals may cling to plastic or silicone and irritate baby.
- Use filtered water for rinsing if your tap water is hard or high in minerals.
Read more: The Best Electric Baby Bottle Cleaner Brush Parents Vows by in 2025
Sample Weekly Cleaning Routine
| Day | Task |
|---|---|
| Daily | Rinse after feedings, wash with baby bottle brush, air-dry |
| Weekly | Use electric bottle cleaner or deep soak + sterilize |
| Monthly | Inspect and replace worn-out parts (nipples, valves) |
Cleaning Baby Bottles Properly
1. How often should I clean baby bottles?
Baby bottles should be cleaned after every single use. Daily cleaning prevents bacteria build-up and milk residue from sticking to bottle surfaces.
2. Do I need to sterilize baby bottles after every wash?
No, not every time. Sterilizing once daily or a few times a week is usually enough—unless your baby is under 3 months, premature, or has a weakened immune system.
3. Can I use a dishwasher instead of a baby bottle brush?
If your bottles are dishwasher-safe, use the top rack only. However, hand washing with a baby bottle brush ensures more thorough cleaning, especially for nipples and valves.
4. What’s the advantage of using an electric bottle cleaner?
An electric bottle cleaner saves time and effort by deep-cleaning bottles with automated scrubbing or steam. It’s especially useful for busy parents or for large cleaning batches.
5. When should I replace my baby bottle brush?
You should replace your brush every 30–60 days or sooner if the bristles become deformed, discolored, or frayed.
Final Thoughts
Cleaning a baby bottle correctly in five steps doesn’t have to be overly complex—but it does require consistency and the right tools. Whether you’re using a baby bottle brush or an electric bottle cleaner, sticking to this process ensures your baby drinks from safe, hygienic bottles every time.
Choosing high-quality, baby-safe tools and cleaning solutions and following this routine can give you peace of mind and protect your baby’s health. Combine good sanitation with regular inspection and proper storage, and you’re giving your little one the best start.